

Project Settings
Set your screen size once and choose a few build preferences, and every export you make lands the way you intended.
Before you send anything to LVGL Pro Editor, the plugin asks for one thing: how big your screen is. At this time the plugin supports a single display size in a project. The Project tab is where you set that, plus a handful of optional switches that shape how your fonts and images come across.
Think of it as the setup you do once per file. Get it right here and you can forget about it for the rest of your session.
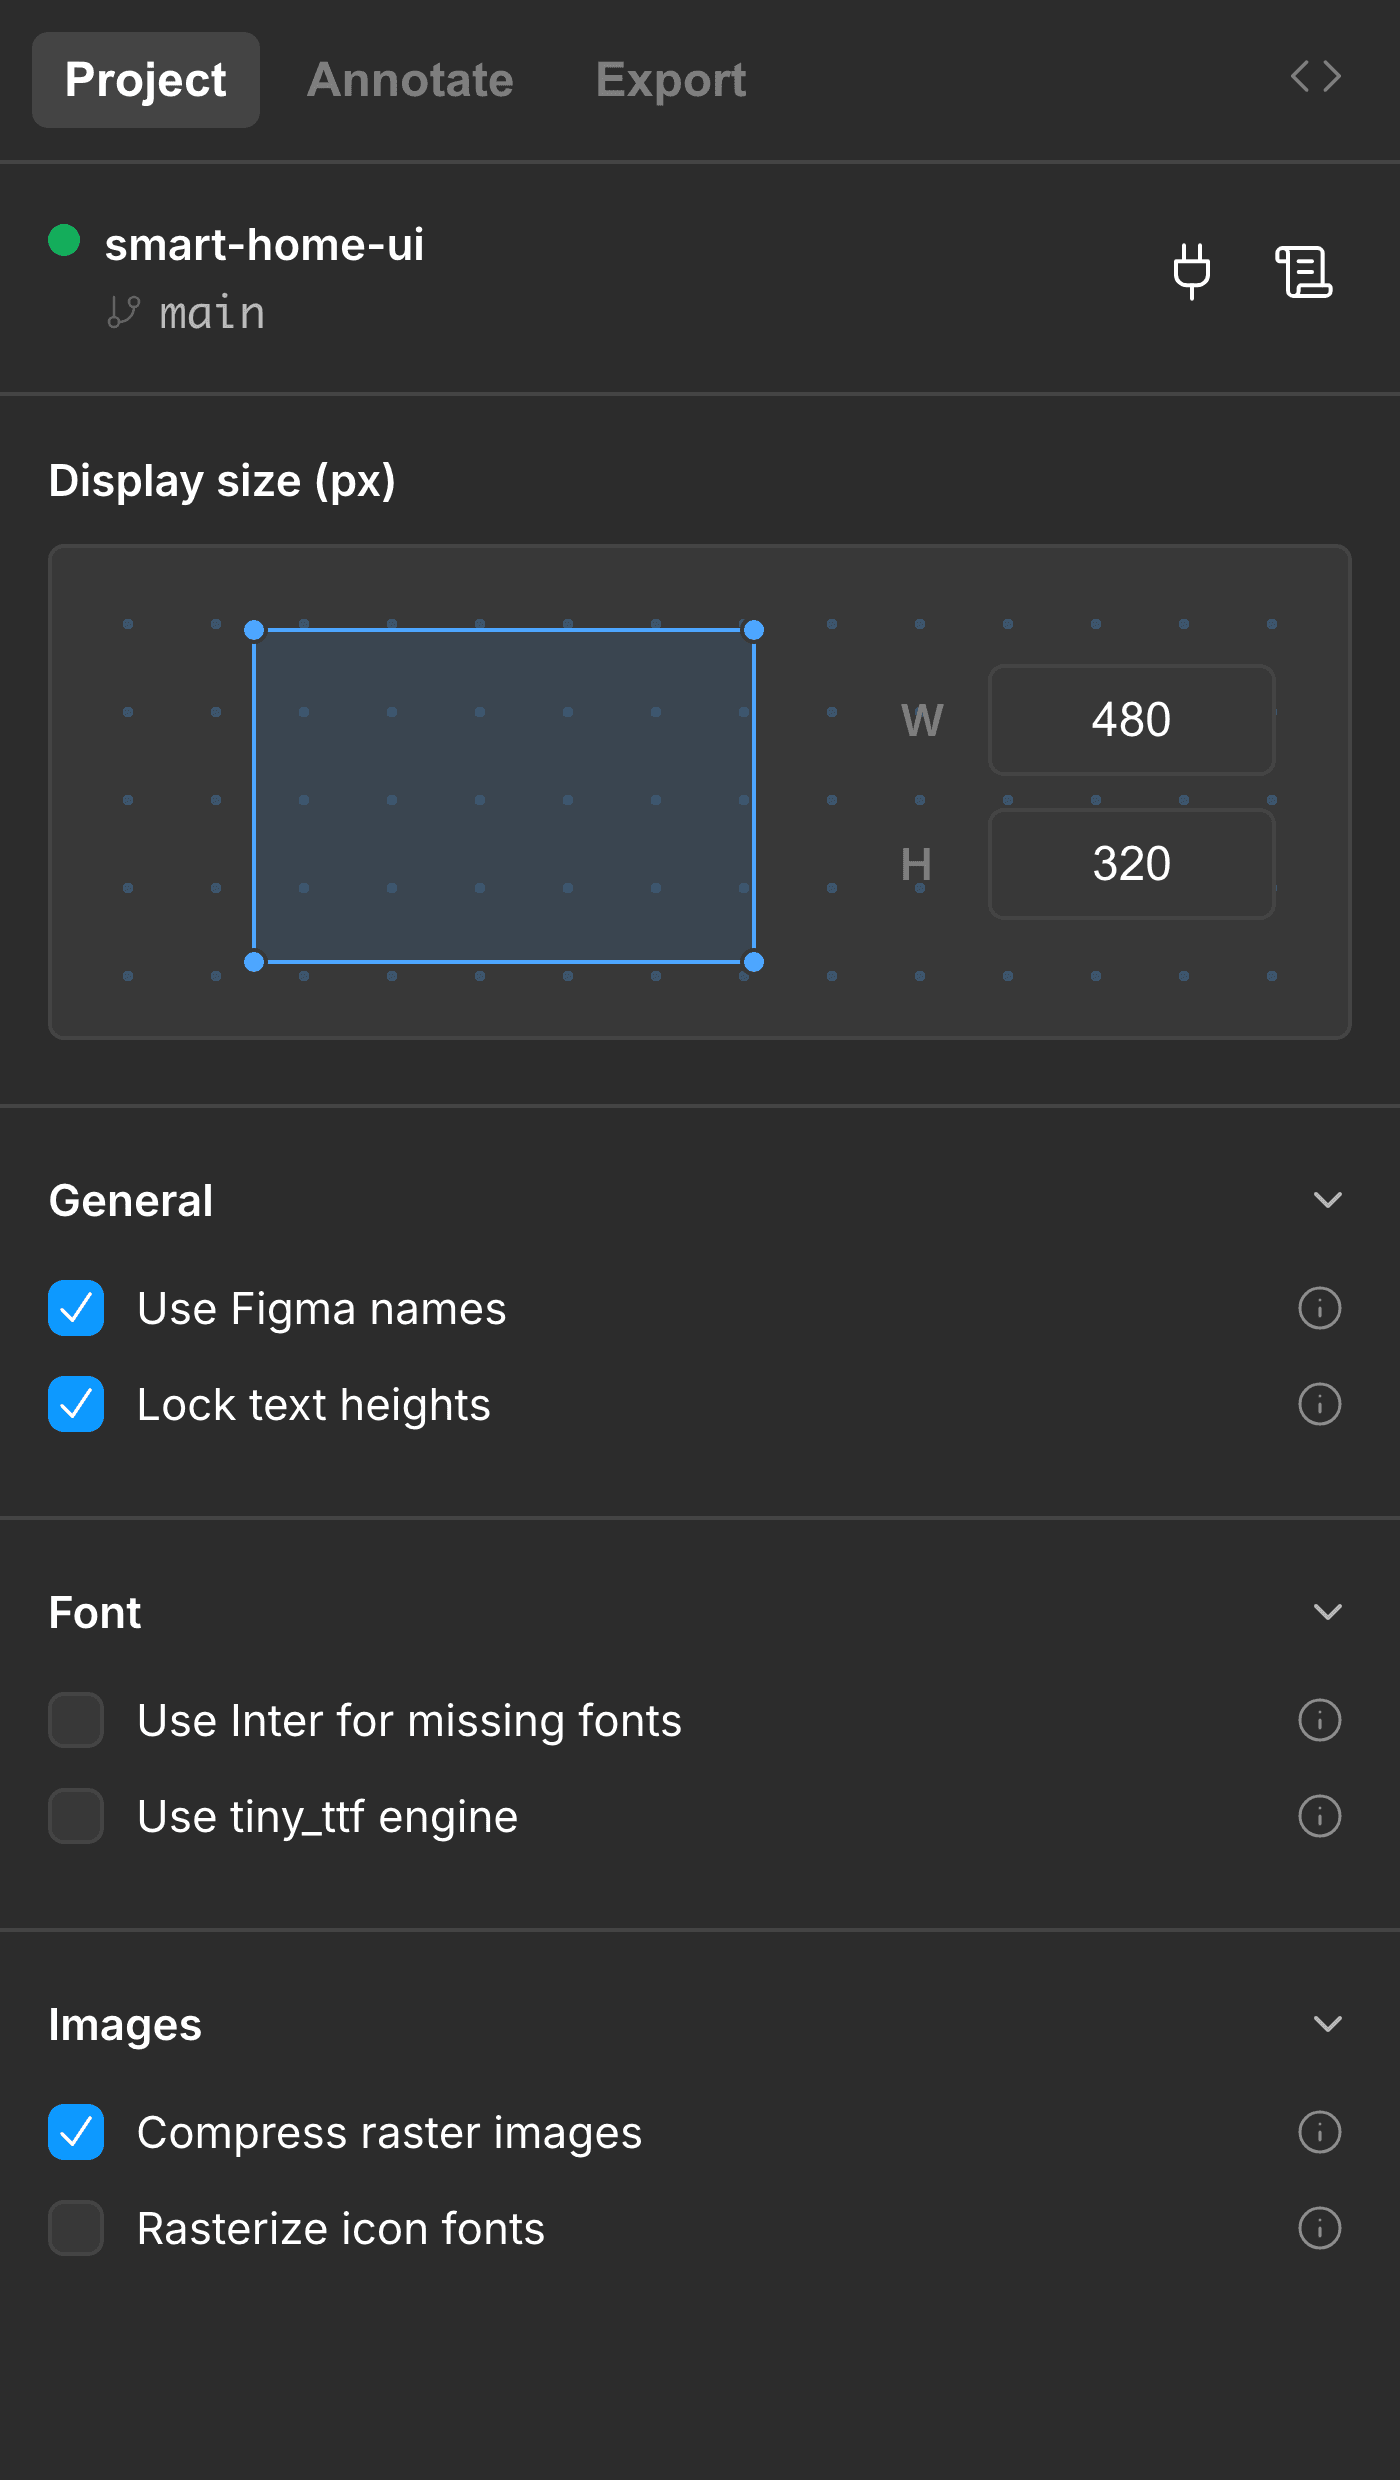
Set your display size
At the top of the Project tab is a display size: the width and height, in pixels, of the screen you're designing for. This is the size of the physical display your UI will run on, and it's the one setting the plugin can't guess for you.
- This is the first step. You can't export until it's filled in. Every export action stays blocked until the plugin knows how big your screen is and how to treat your exports.
Build settings
Below the display size are three groups of optional switches. Each one has a small info icon you can hover for a reminder of what it does. The plugin remembers your choices with the file, so you only set them once.
None of these are required and the defaults work most of the time. Open a group only when you want to change how something comes across.
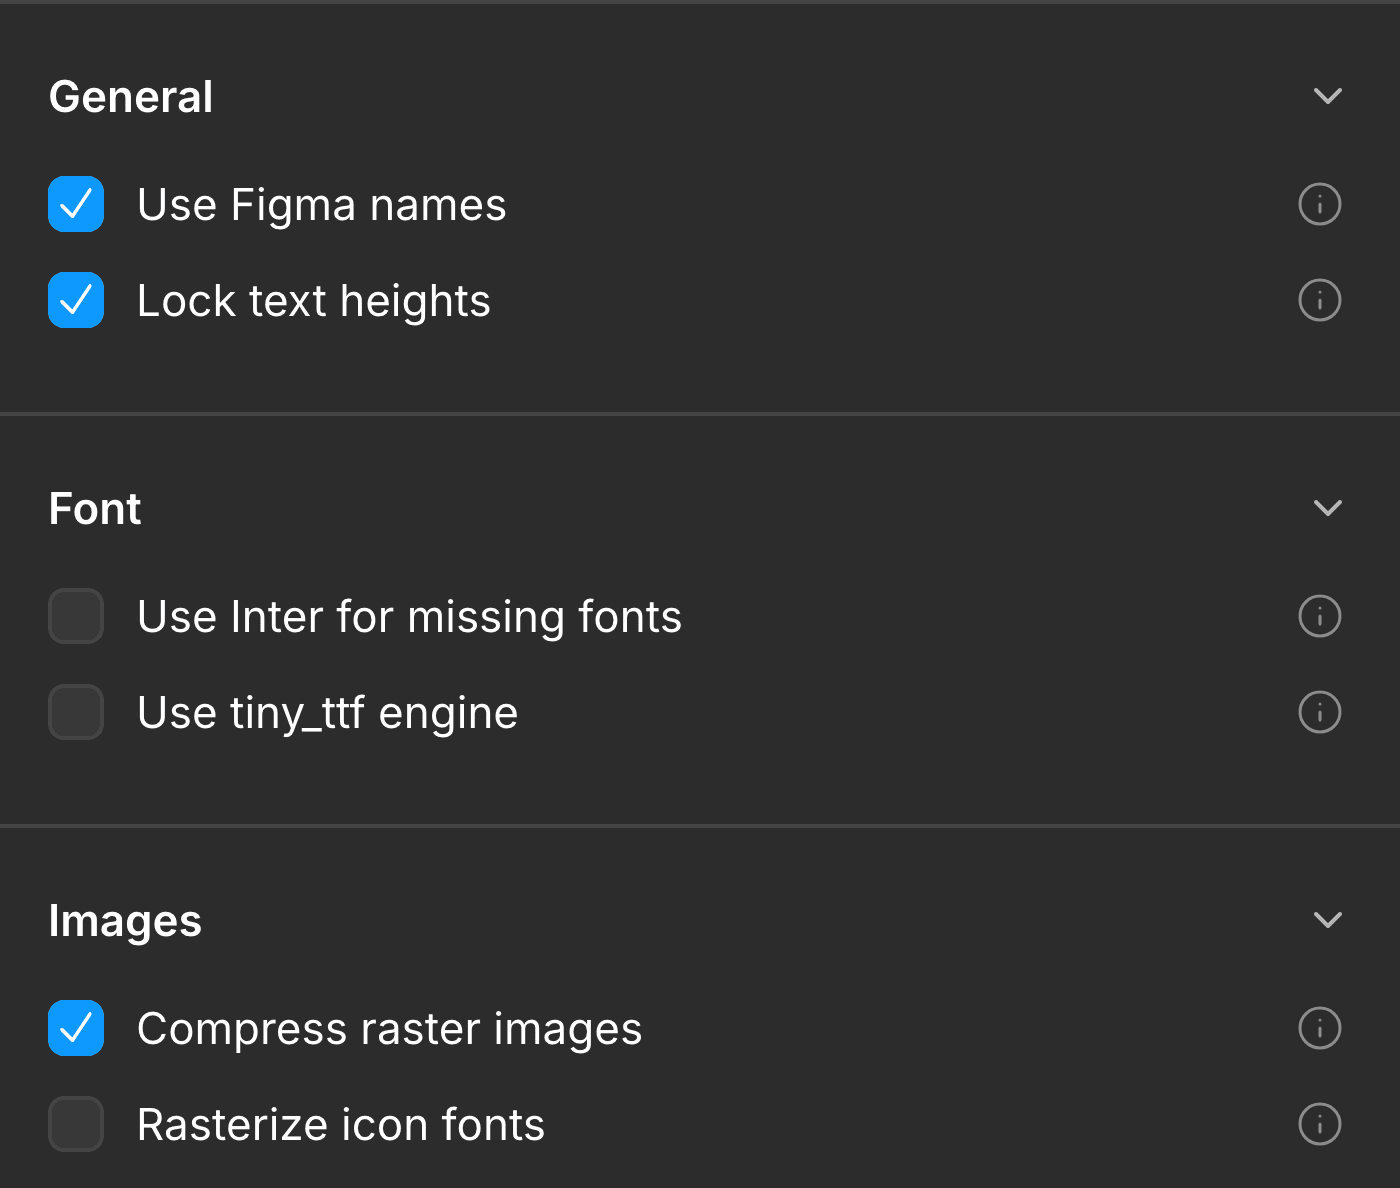
General
- Use Figma names: carry your layer names across into the generated files. When it's
on, a frame you named
card_headerin Figma keeps that name in LVGL, so the output reads the way your design does. Leave it off and the plugin picks tidy names for you. - Lock text heights: keep each text layer at the exact height you gave it in Figma, instead of letting it grow to fit the text. Turn this on when your layout depends on text staying a fixed size.
Font
- Use Inter for missing fonts: if a font in your design isn't available, fall back to Inter rather than stopping. It keeps your export moving when a font can't be found; you can always drop the real font in later. (Where fonts come from and how gaps are reported is covered in Output structure.)
- Use tiny_ttf engine: switch to a different text engine that renders fonts on the fly. You can learn more about it in the TinyTTF Documentation.
Images
- Compress raster images: shrink photos and other bitmap pictures so they take up less space in the final project. A good default for anything memory-conscious.
- Rasterize icon fonts: turn icon-font glyphs into plain images. Use this when you're drawing icons from a font and want them to come across as pictures rather than text characters.
Not sure what a switch does? Hover its info icon in the plugin for a one-line reminder or discuss with your developers.
What's next
With your display size set and your preferences chosen, you're ready to send your work to the Editor.
Last updated on