

Tour the Plugin
A quick walk through LVGL Flow's wizard scan and its four working modes, so the rest of these pages can point you straight to the right spot.
Open LVGL Flow for Figma and it does one thing first: it reads your file. From there, everything you'll do (setting up your project, adding intent, exporting, inspecting styles) lives behind a small set of clearly labelled modes.
The opening scan
Every time you open the plugin, it greets you with a wizard that reads your file before handing you the controls. In this scan it does a few things to prepare for export:
- Gathering globals: your reusable colors, fonts, numbers, and text. In LVGL these become tokens: saved values you reuse across a design, just like a Figma variable or style.
- Peeking into components: the components you've built, including their variants.
- Appreciating screens: the top-level frames that become full views in the running UI.
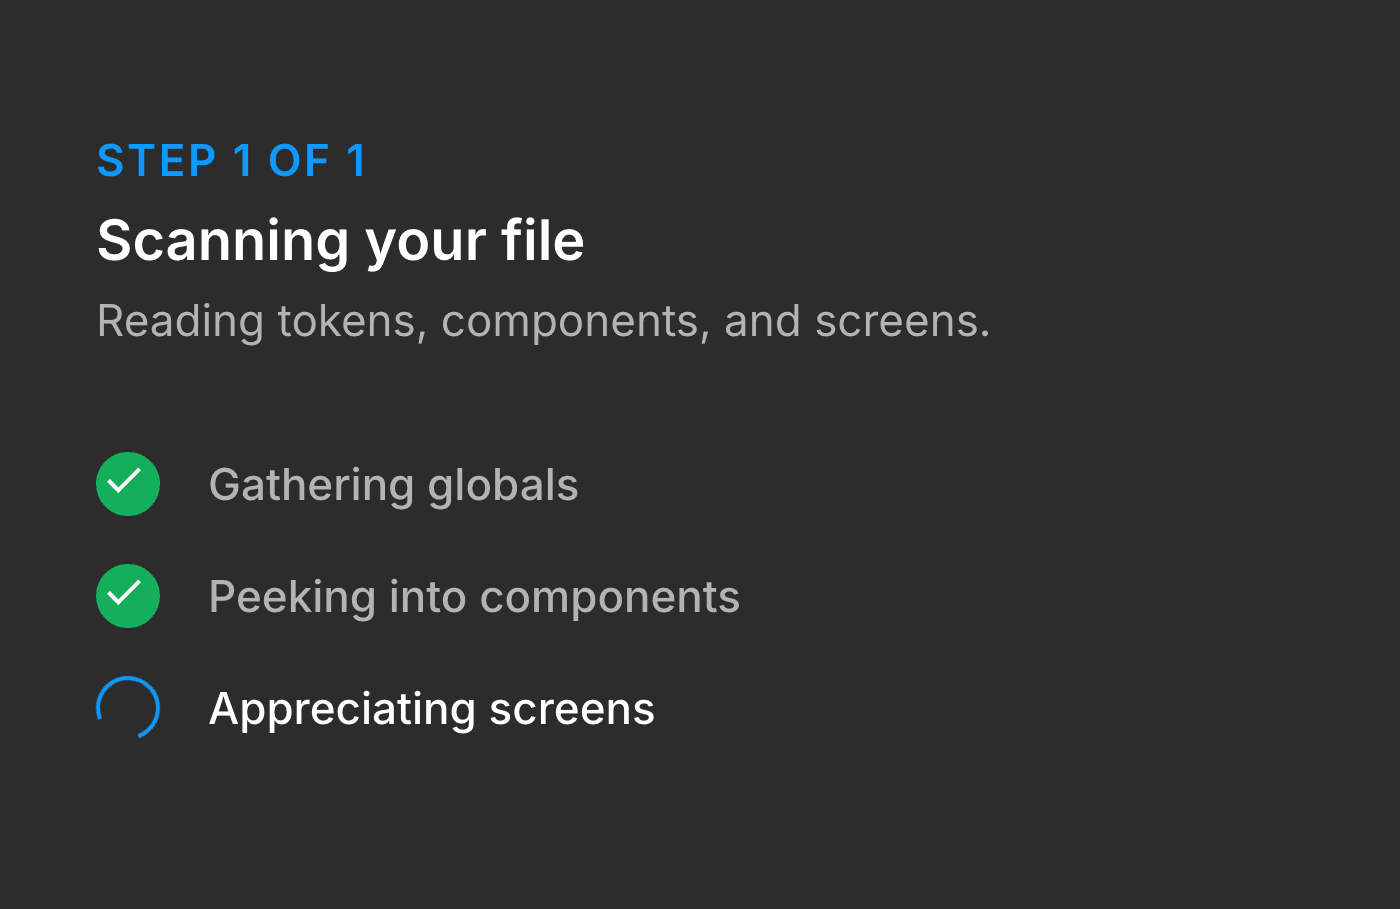
The main plugin
Once the scan clears, you're good to go and cycle through the different modes as you see fit.
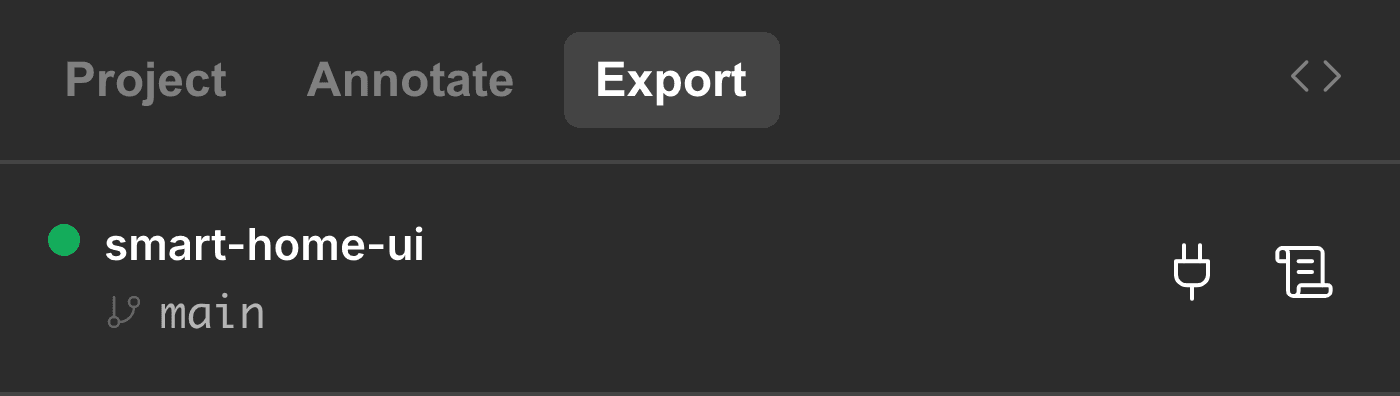
The status dot glows green when the plugin and service are connected. The plug opens the connection details.
The four modes at a glance
Here's the whole plugin in one table. Each mode has its own page with the details.
Project
Set your display size and the build options that shape the output. This is the one setup step you can't skip before exporting.
Annotate
Tell the plugin what a layer really is (a slider, a switch, a label) and point live layers at their data.
Export
Send your tokens, components, screens, or whole prototype flows to the service.
Inspect
Read any single layer's LVGL style and copy it straight into your XML.
New to all of this? Start with Get started for the whole path, from installing the plugin to your first export. Once you're set up, Project settings is your first stop.
Last updated on