

Get Started
Install LVGL Flow for Figma, connect it to LVGL Pro Editor, and export your first screen.
Design your interface in Figma the way you always have. LVGL Flow for Figma reads your file (screens, components, colors, fonts, spacing) and turns it into LVGL XML files you can open, run, and refine in LVGL Pro Editor. You don't write any code to get started.
There are two halves. The plugin lives in Figma and reads your design. The service lives inside LVGL Pro Editor and writes the LVGL files to your project. They talk to each other on your own machine.
Before you start
- The Figma desktop app. You can browse and use the plugin in the browser, but the connection to the Editor is most reliable from the desktop app.
- LVGL Pro Editor. The service that writes your files ships inside it. Don't have it yet? You can still install the plugin and explore, and set up the Editor when you're ready to write files.
LVGL Flow for Figma workflow requires LVGL Pro Editor v2.0.0+ to work.
Step by step
Install the plugin
Add LVGL Flow for Figma from Figma's Community, the same way you'd add any plugin. It stays with your account, so it's available in every file you open on any Figma plan.
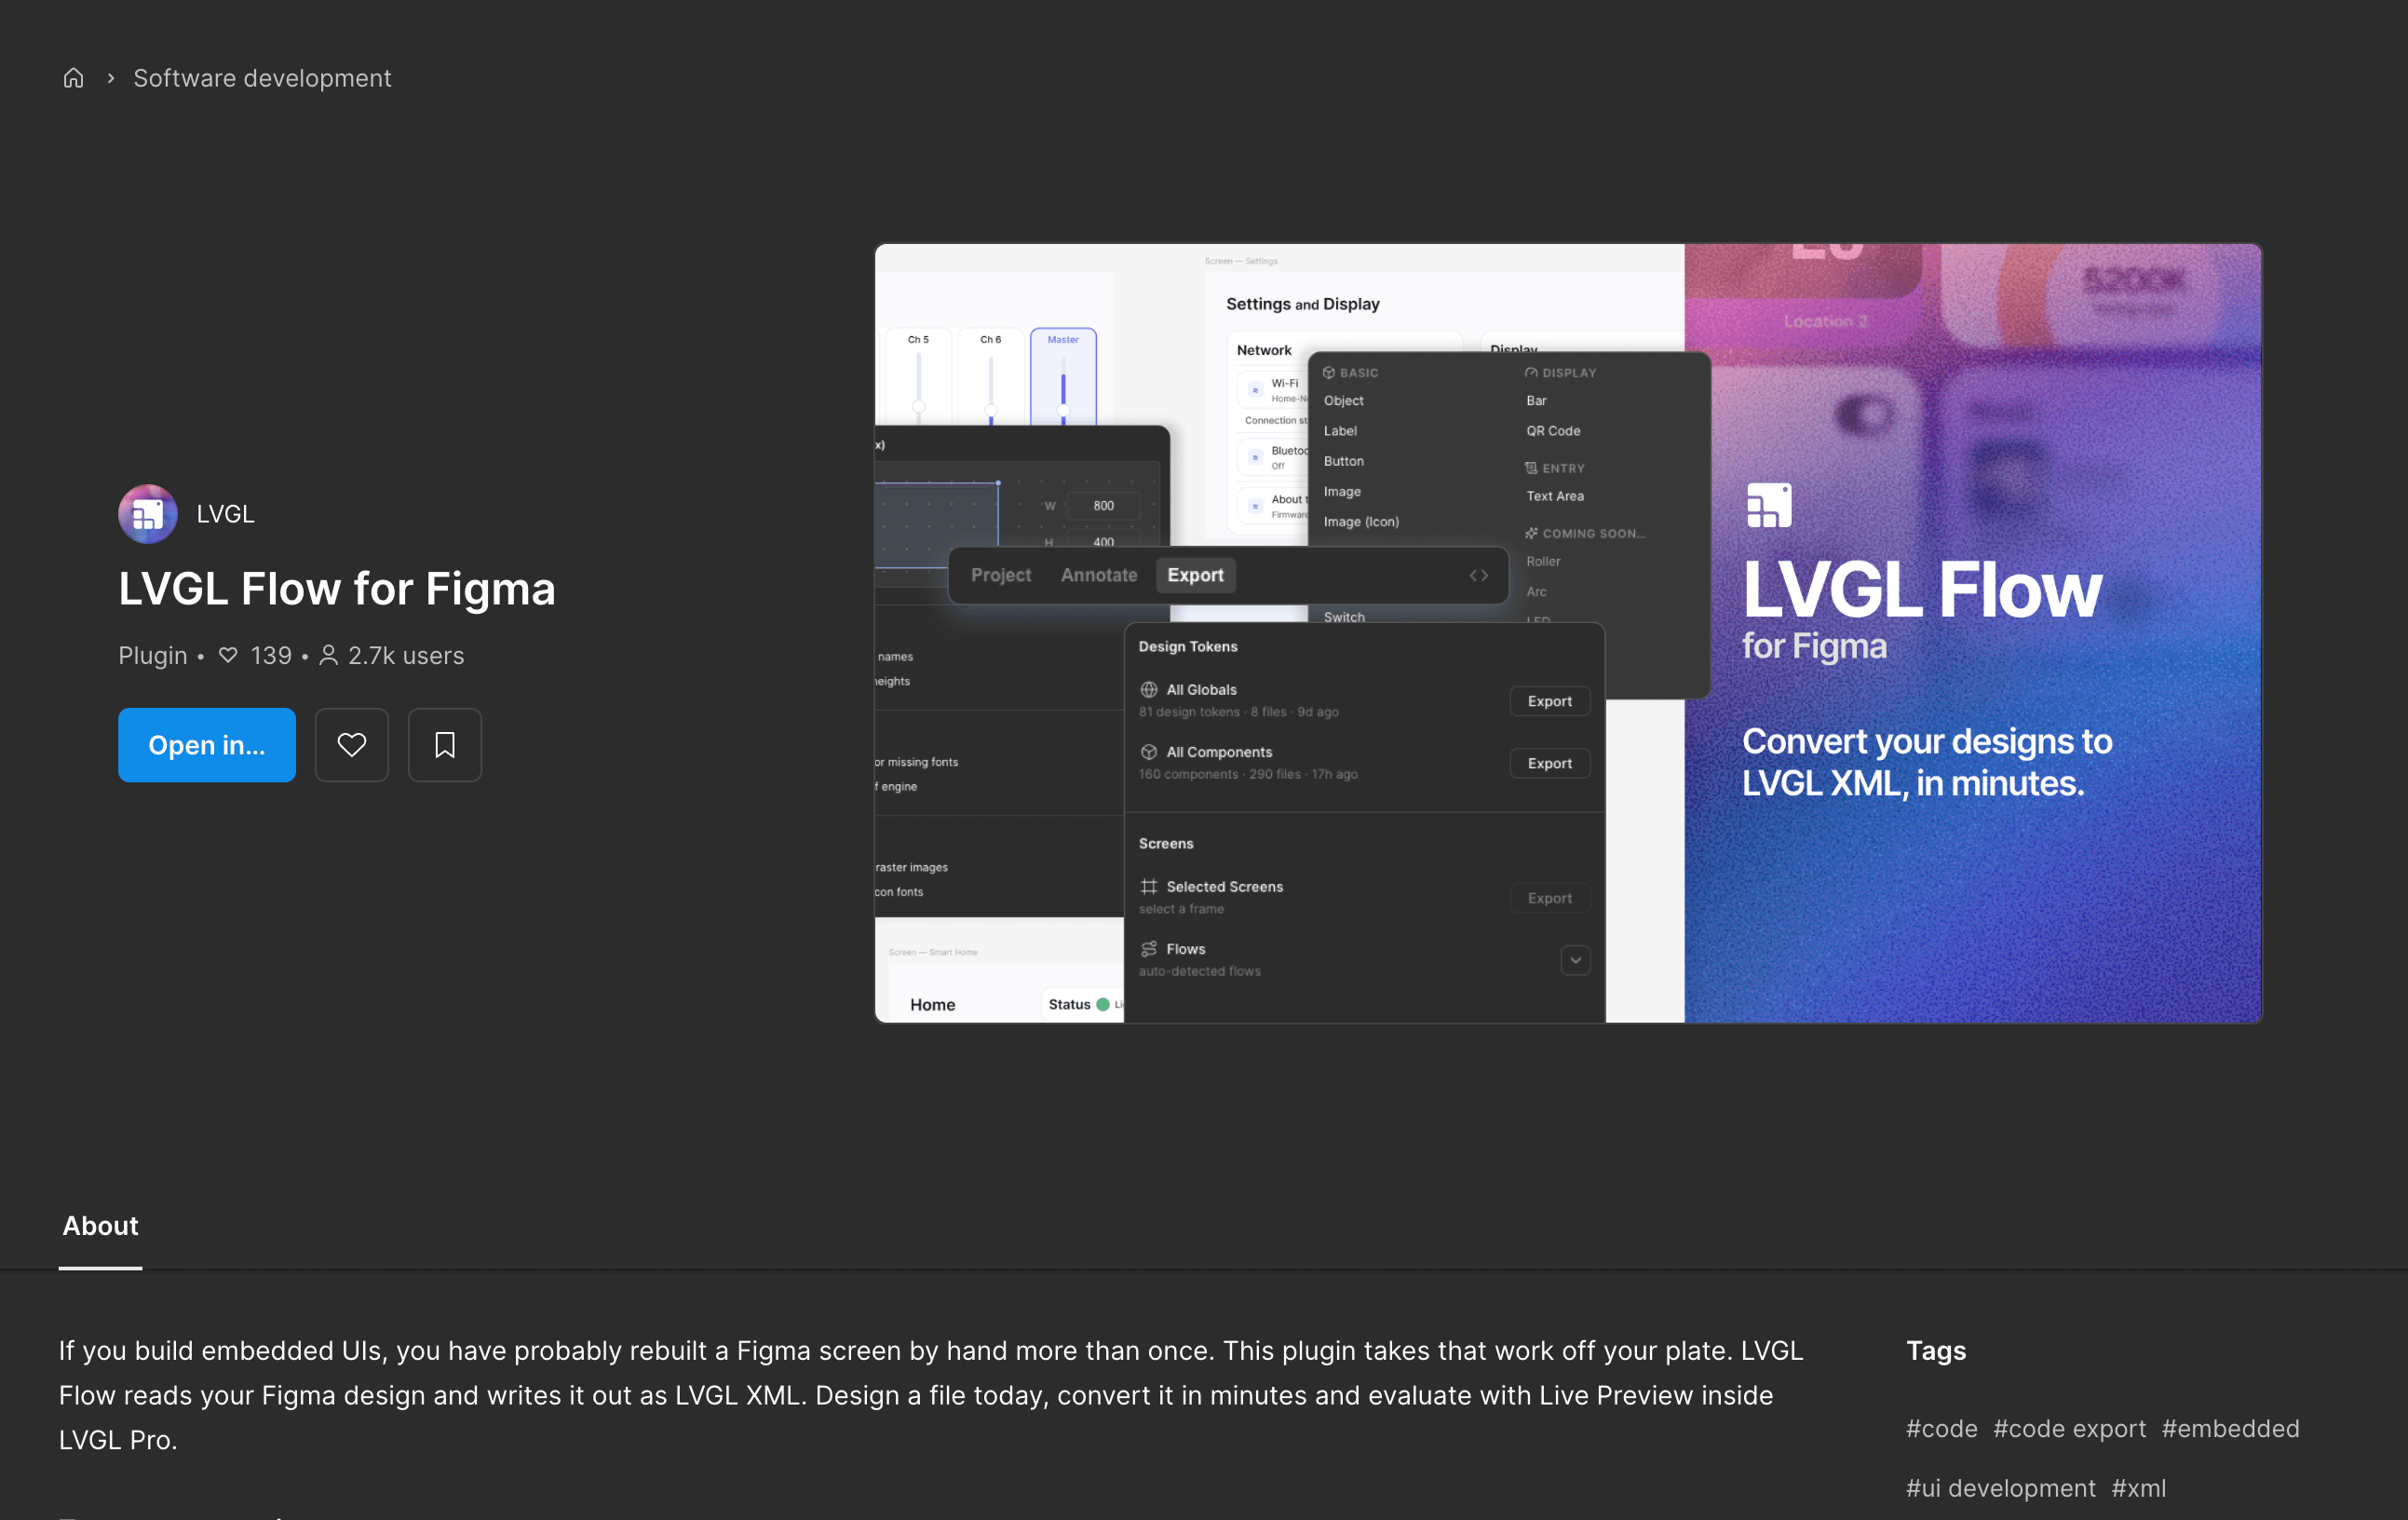
Open the file you want to bring across, then launch LVGL Flow from your Plugins menu. The plugin opens and immediately scans your file, starting with your tokens, then components, and lastly screens.
Connect to the Editor
The service is already built into LVGL Pro Editor. In the Editor, click the Figma button in the toolbar to open the LVGL Figma Flow panel, then click Start Service.
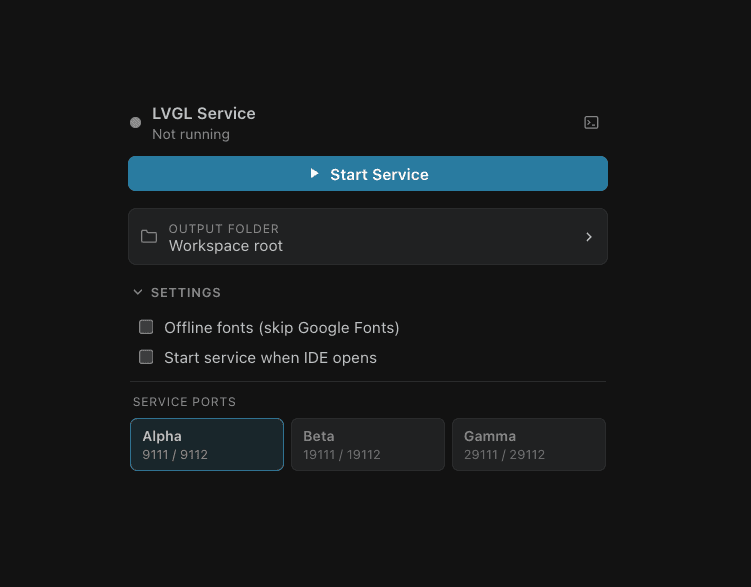
Back in Figma, the plugin connects on its own: the status dot beside your project name turns green and it shows the repo, branch, and path it's working in.
Turn on Start service when the IDE opens in the panel's Settings and it's running every time the Editor launches.
Set your display size
Open the Project view in the plugin and set your display size, this is the width and height, in pixels, of the screen you're designing for. This is the one setting the plugin can't guess, and exports stay blocked until it's filled in.
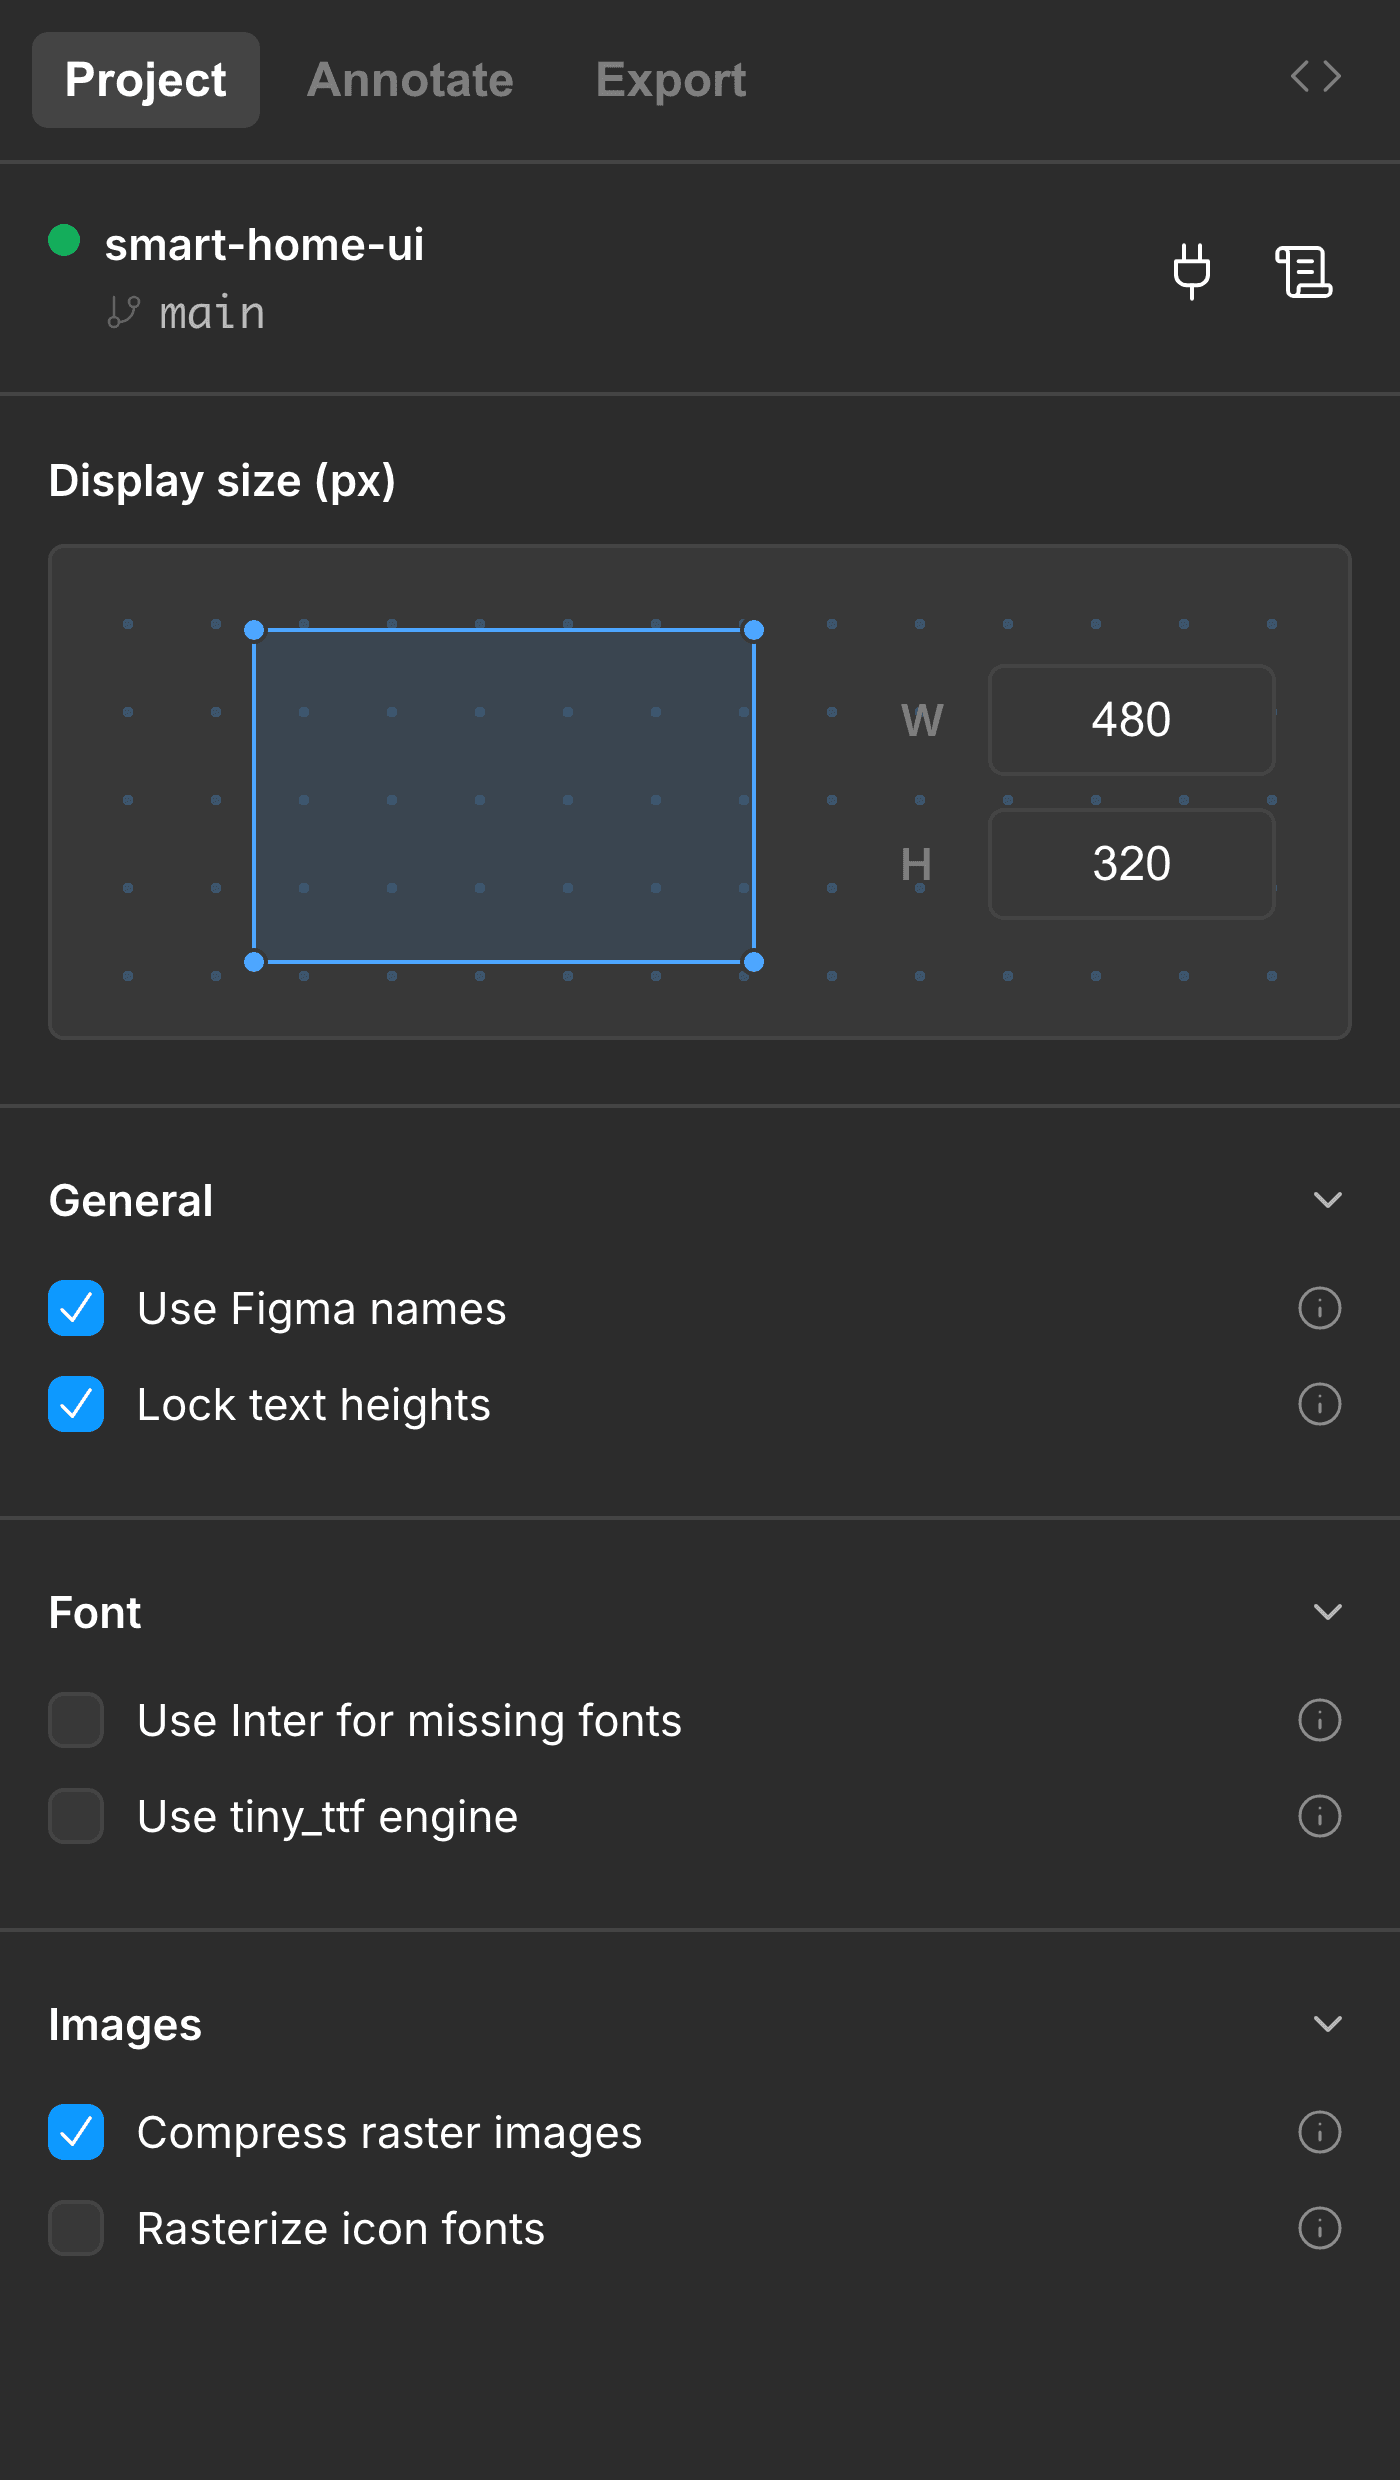
The build settings below the display size are optional and their defaults work most of the time. See Project settings when you want to fine-tune fonts and images.
Annotate your widgets (optional)
A purely visual screen exports fully with no annotation but a widget (a slider, switch, or label) isn't auto-detected. When a layer is really a control or shows live data, open Annotate mode, select the layer, and tell the plugin what it is.
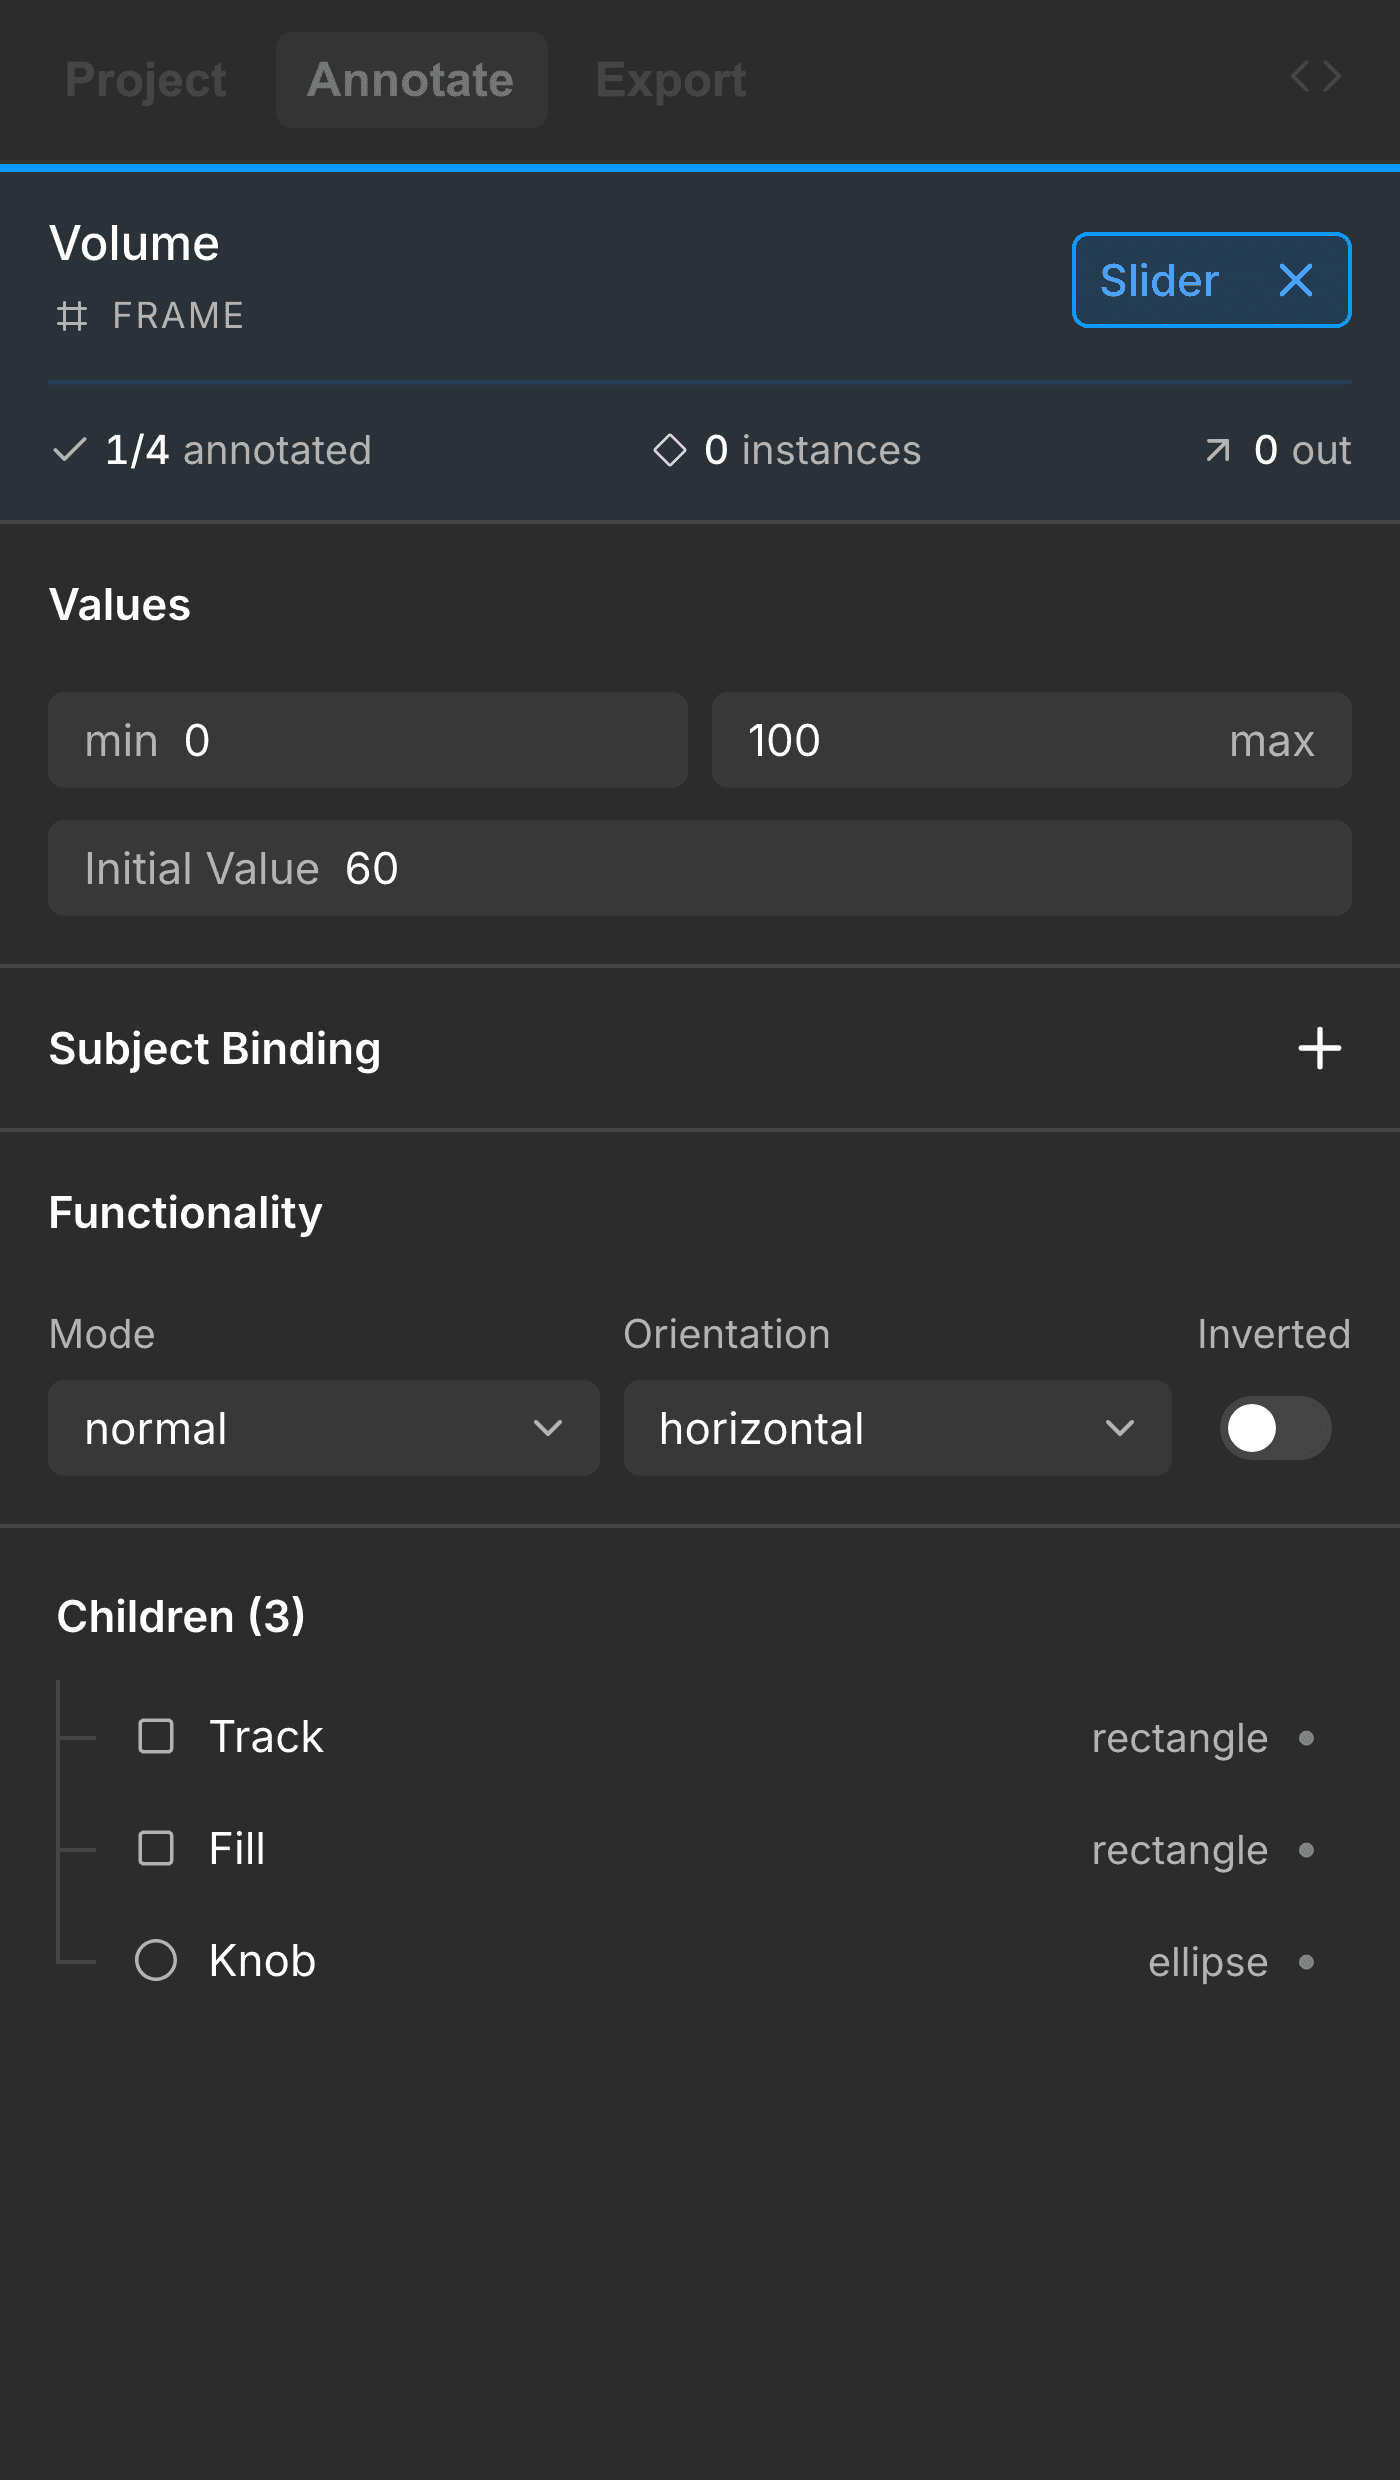
This is also where you point a live layer at a subject so it updates at runtime. Annotation is optional for visual content, required for widgets and interactivity. See Annotating for the details.
Export your first screen
Open Export mode, pick a screen on the canvas, and choose Selected Screens. The plugin sends it to the service along with only the components and tokens it actually uses.
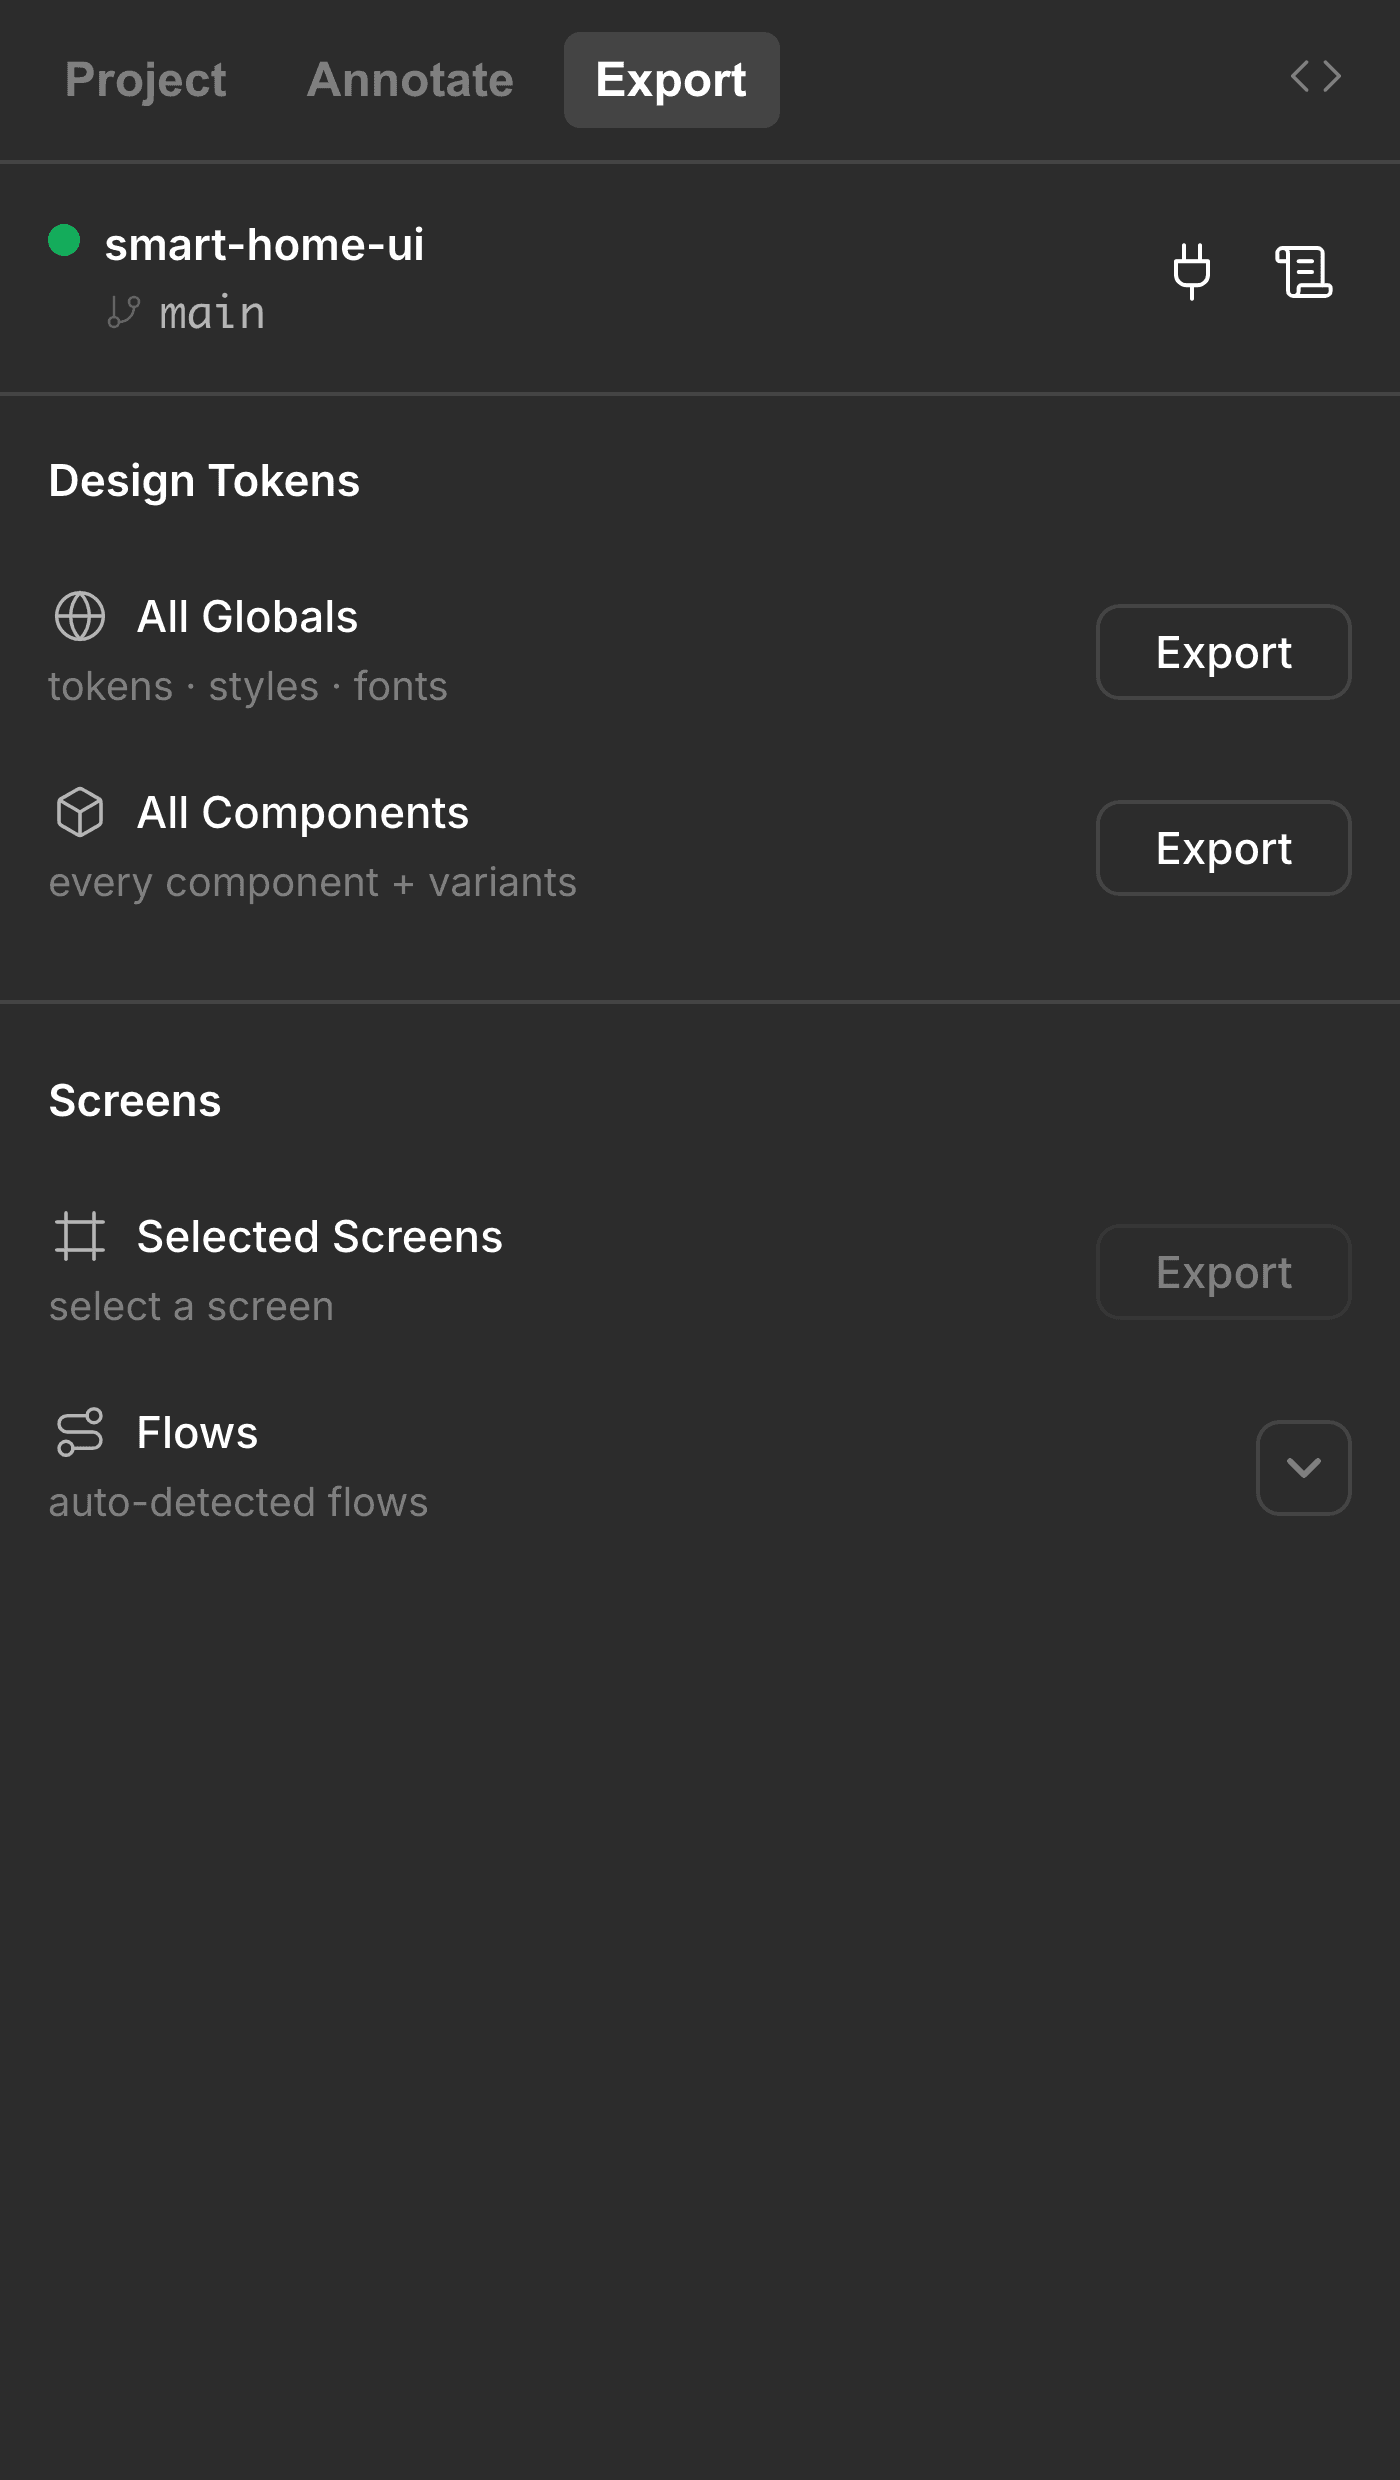
You can also send All Globals (your styles and tokens), All Components, or a whole prototype Flow. See Exporting for what each action sends.
Find your files
The service writes the LVGL XML into your project folder: a project.xml root, a
globals.xml of tokens, one folder per component, and one file per
screen. Open them in the Editor to run and refine them.
You can come back and export again any time — a developer's hand edits stay untouched. See Output structure for the full layout and Updating for how re-exports and file ownership work.
What converts on its own, and what needs a nudge
LVGL Flow reads the structure in your file, not just the pixels — so the more you lean on Figma's building blocks, the cleaner the LVGL output.
- Variables and styles become design tokens in
globals.xml. - Components come across as reusable LVGL components.
- Variants fold into a widget's states but subject-driven looks need your annotation.
- Auto layout maps directly onto LVGL's own flex layout, so responsive rows and columns translate instead of freezing into fixed positions.
In most cases, only widgets and data bindings need you to step in and annotate.
Where to next
Tour the plugin
A walk through the wizard and the Project, Annotate, Export, and Inspect views.
Project settings
The required display size and the build knobs that shape your output.
Export your work
Tokens, components, screens, and prototype flows: what each action sends.
Troubleshooting
Connection presets, ports, and what to do when the plugin can't reach the Editor.
Last updated on
Figma Flow
Bring your Figma screens, components, and styles into LVGL as clean, editable UI files. You design, and LVGL Flow handles the translation.
Tour the Plugin
A quick walk through LVGL Flow's wizard scan and its four working modes, so the rest of these pages can point you straight to the right spot.