On 2 October 2026, Meta released the Muse Gadget SDK. It lets you turn an off-the-shelf ESP32 board or a Raspberry Pi into a device for Muse, Meta's personal AI agent. You hold a button, speak, and the answer shows up on the screen as captions.
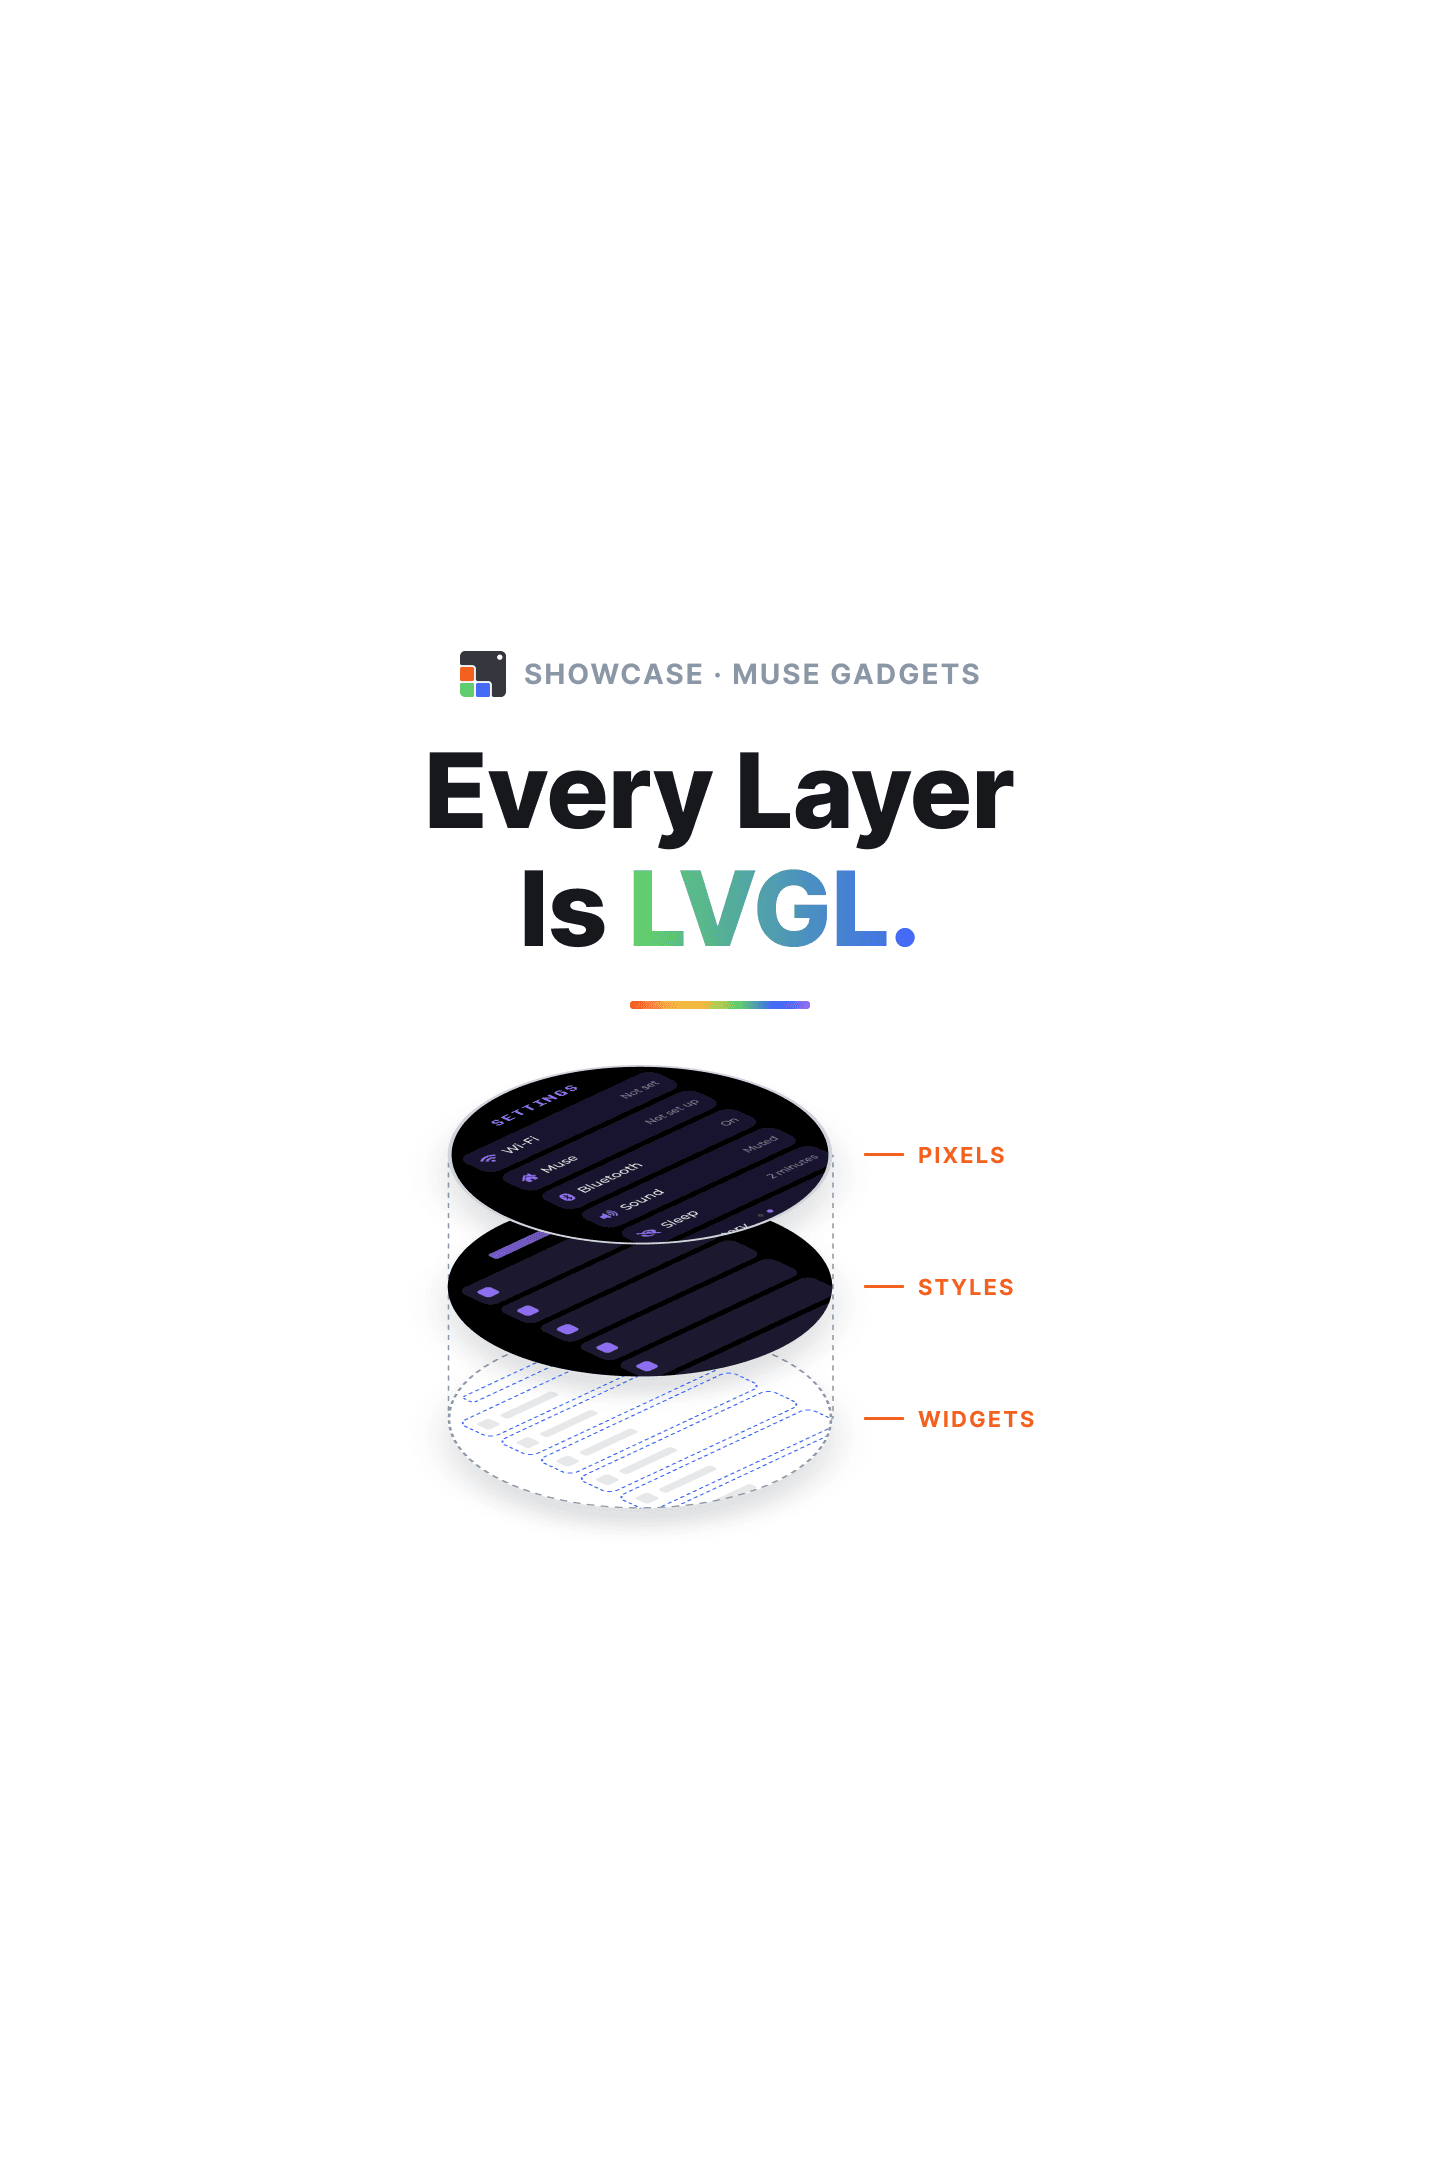
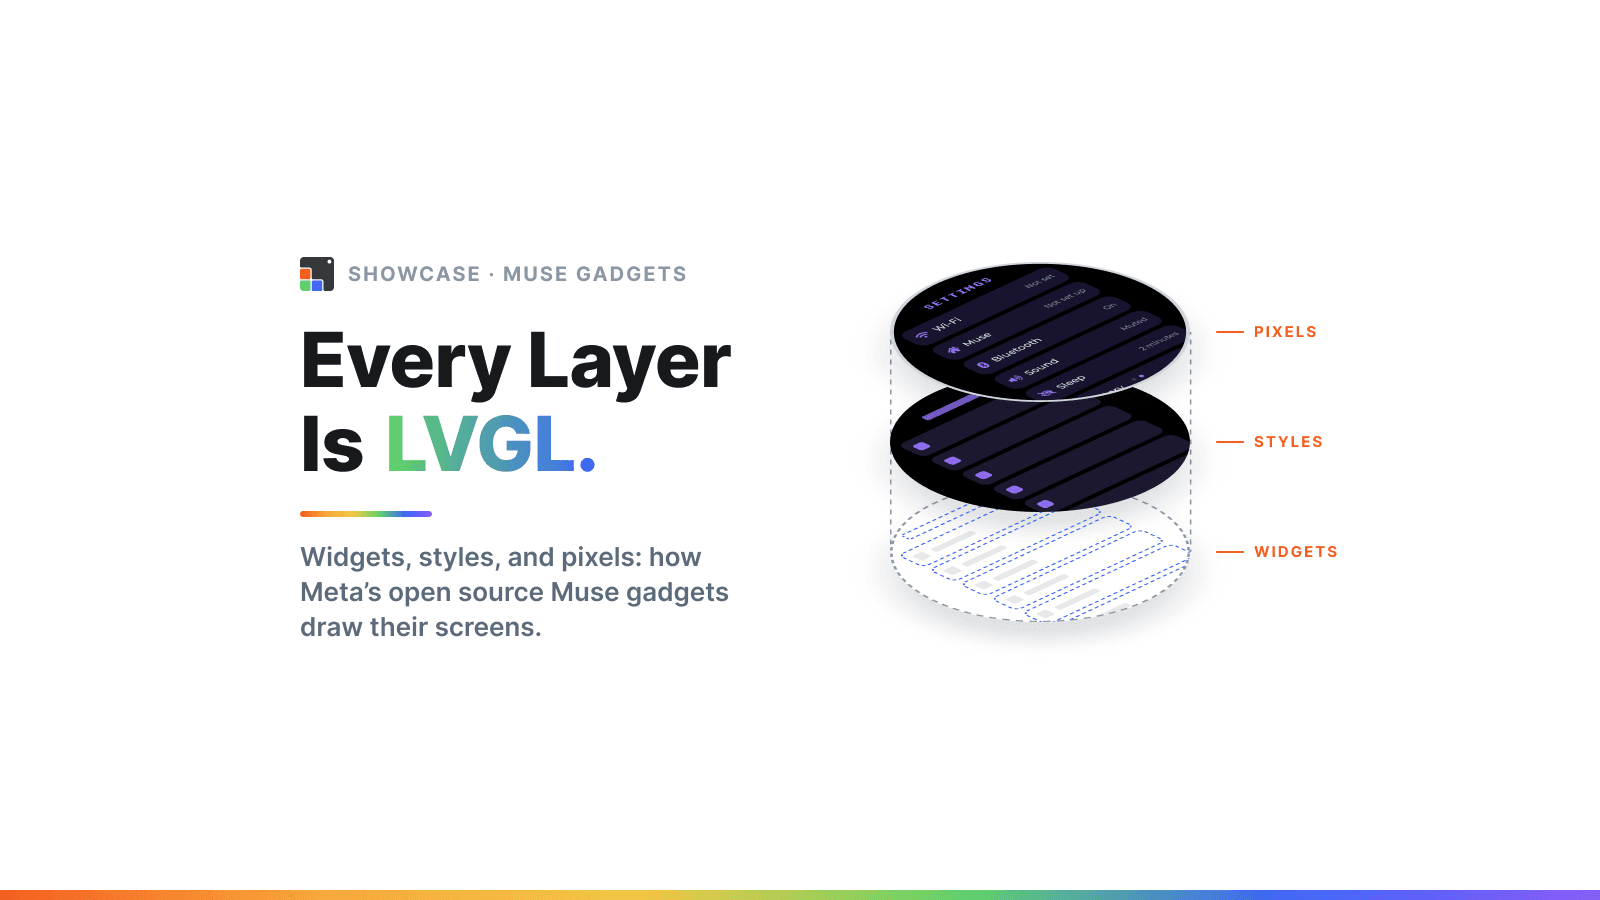
The SDK is open source under the Apache 2.0 license. If you open the ESP32 firmware, you find that LVGL 9.5 draws the screen UI. This post looks at how the firmware uses LVGL, and at four techniques in the code that other LVGL projects can use.
Open source SDK to build Muse gadgets
What Muse Is#
Muse is a personal AI agent from Meta Superintelligence Labs. Meta launched it on 8 September 2026 in the United States, on iOS, Android, and muse.ai. It runs on Muse Spark, Meta's own model. Muse is an agent, not only a chat app: it sends emails, books travel, fills out forms, and keeps working after you close the app. It asks for your approval before it sends or buys something.
The launch was large. According to Bloomberg data reported by Seoul Economic Daily, Muse became the No. 1 free app on both the App Store and Google Play in the US, and passed 2.5 million downloads in North America in 13 days.
Why an AI Agent Needs Gadgets#
Muse lives in the cloud and on your phone. Muse Gadgets take it into the physical world. Nat Friedman, head of product at Meta Superintelligence Labs, called the project a "side project" and described the goal as "basically enabling hardware AI monitors and Physical AI with Muse". A gadget can be a desk companion with a screen and a talk button, an e-ink status display, or a Raspberry Pi that runs commands for Muse.
Meta built one device itself. The Muse Home Link is a USB-C dongle with an ESP32-C5, 8 MB of flash, and 8 MB of PSRAM. Meta made 5,000 units to give to Muse subscribers in the US. Everything else is up to the community: you buy a supported board, flash the firmware, and pair it with the Muse app. By 26 October, 24 days after release, the repository had more than 2,400 stars and 530 forks.
Why This Matters for Embedded UI#
The model does not run on the gadget. The device only records audio, shows text and an animated face, and talks to the cloud over Wi-Fi or Bluetooth. So the hardware can be a standard ESP32 dev kit: most supported boards are off-the-shelf ESP32-S3 boards from Waveshare, M5Stack, Seeed, and Espressif. On a device like this, the screen is most of what the user sees. The UI must look good on round AMOLEDs and small LCDs, and it must share the chip's internal RAM with Wi-Fi and Bluetooth.
That is the kind of device LVGL was made for. Because the SDK is open source, you can see how a large team solved these problems, line by line.
Where LVGL Fits in the SDK#
The SDK has two parts. The ESP32 Device SDK is C firmware built with ESP-IDF 6.0.1. The Linux Device SDK is a Python service for a Raspberry Pi or another Linux box.
LVGL is in the ESP32 firmware. The component manifest pins two dependencies for the UI:
lvgl/lvgl:
  version: "9.5.0"
espressif/esp_lvgl_adapter:
version: "0.6.4"The Kconfig calls this "the full UI": an animated avatar, push-to-talk chat, settings, and battery status. It runs on boards with a color screen. Not every gadget uses it:
- E-ink boards such as the Seeed reTerminal E1002 use their own panel drivers and draw status screens without LVGL.
- Boards without a screen, such as the Muse Home Link dongle, select "None" and build no UI.
- The Linux SDK has no screen UI.
So the accurate statement is this: when a Muse gadget has a color screen, LVGL draws what you see on it.
One UI on 23 Boards#
The firmware lists 23 boards that can run the full UI. They cover five ESP32 families: ESP32, ESP32-S3, ESP32-C3, ESP32-C6, and the experimental ESP32-S31. The screens go from a 128x128 LCD to an 800x480 panel, with round AMOLEDs, square LCDs, and portrait LCDs in between.
All of them share one UI file, muse_ui.c, which is about 1,800 lines. It does not use a different layout file for each board. It reads the screen size at start-up and picks one of two layouts:
- The full layout, for round screens of about 466 px and similar: a progress ring, a level meter, and a settings tile.
- The compact layout, for small screens of about 128 px: the avatar fills the screen and text goes on top of it.
The UI uses standard LVGL widgets: a lv_tileview to swipe between the avatar and settings, an arc for the progress ring, labels for captions, and flex layouts for the settings rows. Each board file only connects the panel and the touch controller. Most board files use Espressif's esp_lvgl_adapter for that, so a new board is mostly a display init sequence and a pin map.
Four Techniques Worth Copying#
The code has detailed comments that explain why it does things, not only what it does. These four techniques apply to most LVGL projects on ESP32, and many apply to any MCU.
1. Put LVGL's Heap in PSRAM#
LVGL lets you replace its memory allocator. The firmware sets CONFIG_LV_USE_CUSTOM_MALLOC=y and provides its own allocator in muse_lv_mem.c. The comment at the top explains the reason:
/*
 * LVGL allocator: widgets and styles live in PSRAM. With the C library malloc,
 * ESP-IDF puts every allocation under 16 KB in internal RAM, and a few hundred
 * settings widgets would starve Wi-Fi and the display's DMA bounce buffers.
 */
#define LV_CAPS (MALLOC_CAP_SPIRAM | MALLOC_CAP_8BIT)

void *lv_malloc_core(size_t size)
{
    void *p = heap_caps_malloc(size, LV_CAPS);
    return p ? p : malloc(size);
}

void lv_free_core(void *p)
{
    heap_caps_free(p);
}Each widget is small, so ESP-IDF puts each one in internal RAM by default. A few hundred widgets add up, and internal RAM is also where Wi-Fi and DMA buffers must live. This allocator sends LVGL's allocations to PSRAM first and uses internal RAM only if PSRAM has no space. Some boards in the list have no PSRAM, such as the M5Stack Cardputer ADV. On those boards, the fallback to malloc keeps the same code working.
The allocator file contains only symbols that LVGL calls. The linker can drop such a file and use LVGL's default allocator instead. The SDK prevents this with WHOLE_ARCHIVE in the component's CMakeLists.txt. If your custom allocator seems to have no effect, check this first.
2. Decode the Avatar One Strip at a Time#
The avatar is a 64x64 pixel-art grid. On a 466 px round screen it is several hundred pixels across. At 16-bit color, one full frame at that size takes hundreds of kilobytes. LVGL can also scale an image itself, but software scaling costs CPU time on every frame.
The firmware does neither. It registers a custom image decoder, and the avatar reaches LVGL as an image that the decoder draws on demand:
/*
 * Muse reaches LVGL as an image whose pixels are made on demand: a decoder
 * scales the 64 px grid up one strip of rows at a time, so the full-size frame
 * never sits in RAM and LVGL never runs its (slow) image transform.
 *
 * LVGL splits each refresh into a tile per draw unit and draws them at once,
 * each with its own open decoder, so each one takes its own strip: with one
 * shared strip, a tile blended rows the other had just scaled into it.
 */
#define STRIP_ROWS 16
#define STRIPS LV_DRAW_SW_DRAW_UNIT_CNTThe decoder uses LVGL's get_area callback. The open callback does not decode the image. It only gives the caller a strip buffer. LVGL then calls get_area again and again, and each call scales the next 16 rows of the grid into that strip:
static lv_result_t muse_dec_get_area(lv_image_decoder_t *dec, lv_image_decoder_dsc_t *dsc,
                                     const lv_area_t *full, lv_area_t *area)
{
    int32_t y1 = area->y1 == LV_COORD_MIN ? full->y1 : area->y2 + 1;
    if (y1 > full->y2) return LV_RESULT_INVALID;
    int32_t y2 = LV_MIN(y1 + STRIP_ROWS - 1, full->y2);
    int32_t w = lv_area_get_width(full);
    lv_draw_buf_t *buf = lv_draw_buf_reshape(dsc->user_data, LV_COLOR_FORMAT_RGB565, w, y2 - y1 + 1, LV_STRIDE_AUTO);
    muse_pixel_scale((uint16_t *)buf->data, buf->header.stride / sizeof(uint16_t), full->x1, full->x2, y1, y2);
    area->x1 = full->x1; area->x2 = full->x2;
    area->y1 = y1;       area->y2 = y2;
    dsc->decoded = buf;
    return LV_RESULT_OK;
}This is a shortened version of the original code. The memory cost is two 16-row strips instead of one full frame.
The second half of the comment above is important. The ESP32-S3 boards set LV_DRAW_SW_DRAW_UNIT_CNT to 2, so LVGL's software renderer draws two parts of the screen in parallel. Each draw unit opens the decoder separately. With one shared strip, one unit blended rows that the other unit had just scaled into the strip. The fix is one strip for each draw unit, so STRIPS equals LV_DRAW_SW_DRAW_UNIT_CNT. Boards with a single-core chip, such as the ESP32-C6, use one draw unit and one strip.
If you write a decoder that uses a shared scratch buffer, check it with more than one draw unit. A decoder that works with one draw unit can fail when you enable a second one.
LVGL's public API registers the decoder callbacks. But the callbacks read and write fields of lv_image_decoder_dsc_t, such as user_data and decoded, and those fields are declared in lv_image_decoder_private.h. Private headers can change between LVGL releases. The SDK pins LVGL to exactly 9.5.0 for this reason. If you copy this decoder, pin your LVGL version too, and check the decoder when you upgrade.
3. Invalidate Only the Cells That Changed#
LVGL redraws only the areas that are marked invalid. If you invalidate the whole avatar on every animation frame, LVGL redraws the whole avatar. Most frames change only a few cells, such as the eyes during a blink.
So the firmware keeps a copy of each cell's color from the last frame. For each new frame, it finds the cells that changed in each row and makes one rectangle per row. Then it merges neighbouring rectangles:
#define DIRTY_RECTS_MAX 8       /* with the meter and labels, well inside LVGL's 32 areas */
#define DIRTY_MERGE_PX 2048 /* pixels that cost about one walk of the widget tree */The merge rule is a cost trade-off. Each extra invalid area makes LVGL walk the widget tree one more time. Each merge makes LVGL draw some pixels that did not change. The firmware merges two rectangles when the extra pixels cost less than one more tree walk, and it keeps the total number of areas well under LVGL's default limit of 32. The function is invalidate_muse(), and it calls lv_obj_invalidate_area() for each rectangle that is left.
4. Make a Failed Assert Reboot the Device#
By default, a failed LVGL assert stops in an endless loop. On a device in someone's home, that means a frozen screen and no log. The firmware changes this in the component's CMakeLists.txt:
# LVGL spins forever on a failed assert unless LV_ASSERT_HANDLER is set,
# which its Kconfig can't do. Abort, so the panic handler prints a backtrace
# and reboots. PUBLIC reaches LVGL and every file that includes lvgl.h.
idf_component_get_property(lvgl_lib lvgl__lvgl COMPONENT_LIB)
target_compile_definitions(${lvgl_lib} PUBLIC
    "LV_ASSERT_HANDLER_INCLUDE=<stdlib.h>"
"LV_ASSERT_HANDLER=abort()\;")abort() starts the ESP-IDF panic handler. The panic handler prints a backtrace and restarts the chip. This is a small change, and it is useful for any LVGL project that uses ESP-IDF. LVGL's Kconfig has no entry for LV_ASSERT_HANDLER, and the default is while(1);, so you must set it as a compile definition.
Run the Muse UI on Your Desktop#
You do not need a board to see the UI. The SDK includes an SDL simulator for Linux and macOS. It compiles the production muse_ui.c and the avatar renderer. Small host adapters replace ESP-IDF, FreeRTOS, Wi-Fi, Bluetooth, and power services. The window is 412x412, the size of the Seeed SenseCAP Watcher screen.
You need CMake 3.24 or newer and a C11 compiler. ESP-IDF is not necessary. From the repository root:
cmake -S esp32/simulator -B esp32/simulator/build -DCMAKE_BUILD_TYPE=Debug
cmake --build esp32/simulator/build --parallel
./esp32/simulator/build/muse_simulatorThe build downloads LVGL 9.5.0, the same version as the firmware. It uses SDL2 from your system if it finds a compatible version, and downloads SDL2 if it does not. The README uses Ninja with -G Ninja, but the default generator also works.
In the window, F1 to F7 select the states: boot, idle, listening, thinking, speaking, error, and off. Hold Space to talk, and press P to save a screenshot. The mouse acts as touch, so you can drag left to open the settings tile.
The simulator can also run without a window. A scenario file sets the UI state, and the simulator saves the result as an image:
./esp32/simulator/build/muse_simulator \
  --headless \
  --scenario esp32/simulator/tests/scenarios/thinking.txt \
  --run-ms 250 \
--screenshot thinking.ppmThe SDK's tests use this mode to check the UI in CI. It is the same approach that the LVGL SDL driver supports for any project: keep the UI code free of hardware calls, and the same code builds for the board and for the desktop.
The simulator does not emulate the ESP32-S3 CPU, PSRAM, or memory pressure. Techniques 1 and 2 above only show their effect on real hardware.
Get Started#
To build your own Muse gadget, start with the SDK repository and the Muse Gadgets site. To pair a device, you need a Muse account and an SDK token. If you want to use these techniques in your own LVGL project, the docs links in the sidebar explain each one.
All code in this post comes from commit f60347a of the SDK, from 16 October 2026.